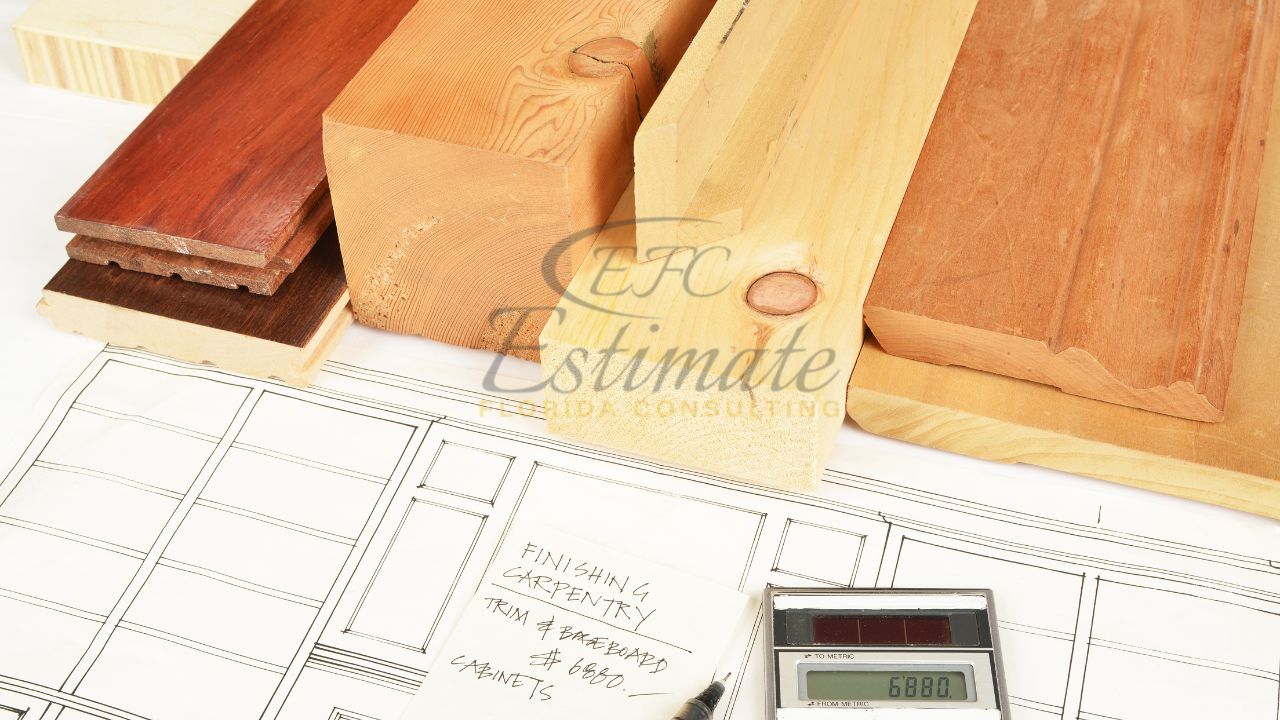
Finish Carpentry Estimating: Trim-Out Rates, Waste Factors, and Bit Selection
A trim package looks simple on paper: base, casing, crowns, a few built-ins, done. Then your estimate misses by 20% because the hallway jogs six times and the casing profile hates out-of-plumb jambs. Finish carpentry isn’t hard to price once you adopt a few defensible reference points and measure your own crew’s reality against them. Below is a practical way to set rates, choose waste allowances you won’t regret, and spec router bits that keep your cut quality—and your callbacks—under control.
Trim-Out Rates You Can Defend
If you quote trim by the linear foot, your number needs to rest on a productivity baseline you can explain. A useful outside benchmark: RSMeans guidance puts base and case output around 200–250 linear feet per carpenter per 8-hour day for typical custom-grade work, with premium work needing 25%–50% longer depending on complexity. That’s a straightforward way to sanity-check your own hours before you commit to a piece price.
That range lines up with pragmatic shop math: many contractors budget ~30 LF/hour for straightforward baseboard in open rooms (roughly 240 LF/day), then derate for tight spaces, heavy cope counts, and elaborate profiles. Estimating templates used in the field often model customer pricing off a 30-LF/hour labor assumption at an internal hourly rate; use your rate, not someone else’s, and track your results so your piece prices reflect your crew, your tools, and your region.
Market pricing is never a substitute for your takeoff, but it’s helpful to pressure-test your math against published ranges. Consumer-facing cost guides commonly show installed baseboard totals around $5–$9 per LF (materials and labor combined), with higher numbers when removal, repairs, or paint are included. If your internal hours × rate × burden puts you way above or below that window for like-for-like scope, check your productivity assumptions, travel, setup time, and punchlist allowance before sending the bid.
Waste Factors That Don’t Bite You Later
Waste on running trim isn’t just bad cuts. It’s profile matching, color/figure selection (on stain grade), out-of-square rooms, and the reality that you can’t joint every seam in the middle of a wall. For paint-grade primed stock, seasoned estimators often carry 5%–10% waste; the lower end assumes forgiving fill/caulk and clean, straight walls. Move to stain-grade hardwood or complex crowns and that allowance should climb—beyond the material itself, you’re protecting against grain matching and visible joint placement where filler isn’t an option.
If you prefer a simple rule for small rooms and straightforward profiles, a classroom-style estimating method is to take the measured perimeter and add 10% for waste, then round up to the next even length so you’re not splicing avoidable short pieces. That method keeps junior estimators consistent and prevents the classic mistake of ordering to the inch on a room full of jogs. It’s not fancy—just consistent—and you can layer more nuance on top (returns, outside corners per room, stair runs) as projects get richer.
The key is to segment waste by scope on your takeoff. Don’t carry one catch-all percentage. Baseboard in long, open halls might truly sit at 5%–8%. The same house’s 2-piece crown in a coffered dining room might need 12%–15% once you account for coping practice pieces, scarf joints placed off-stud, and the occasional mis-miter on a spring angle you haven’t run in a year. Keeping a job log of ordered LF vs. installed LF by profile turns this into data you can use next time—no guesswork, no debate.
Bit Selection That Protects Your Finish (and Schedule)
Good estimates assume good production. Production dies when edges burn, bearings chatter, or tear-out forces a repaint. For trim work, build your kit around a small set of profiles that cover most needs: flush-trim/pattern bits, straight or spiral for light mortising and dado cleanup, roundovers, cove, 45° chamfer, and rabbeting sets with swappable bearings. You don’t need a drawer of one-off profiles; pick durable cutters that stay sharp and make repeatable, clean cuts across MDF, poplar, and hardwood casings.
When you’re templating, easing sharp edges on custom jamb extensions, or cleaning up applied panels, bearing-guided cutters shine because they reference right off your work. If you’re sourcing, look for balanced, carbide-tipped options with reliable bearings; quality shows up as less chatter and fewer scorch marks at standard feed rates. A compact, go-to option many trim carpenters keep in the bag is a set of bearing-guided router bits, which pairs well with shop-made templates for repeatable edges on site. Use moderate passes rather than hogging full depth, especially on MDF to avoid fuzzy edges, and keep a spare bearing on hand for the inevitable jobsite grit.
Flush-trim bits deserve special attention because they’re the fixers when layouts change late: scribing panels, trimming veneer on window returns, or patterning arches. Keep both up-cut and compression spiral varieties available if you regularly work veneered sheet goods; choose top-bearing when you’re following a template from above and bottom-bearing when you’re referencing from the table. Let the bearing—not the cutter—do the guiding, and resist pushing the feed rate to hide a dull edge. It shows up later as paint prep time.
A Simple, Defensible Workflow for Finish Estimates
Start with a piece-by-piece or profile-by-profile takeoff: base, casing (by opening), crown (by room), chair, wainscot components, and built-ins broken into carcass, face frames, and applied moldings. Assign a crew-specific productivity by scope—don’t let a fast baseboard rate drift into your crown numbers. Cross-check against an external anchor like the 200–250 LF/day RSMeans baseline and your own historical logs. If your rate is better, great—write down why (wide-open rooms, simple profiles, no paint). If it’s worse, write that down too (occupied remodel with dust control and furniture moving, lots of inside/outside corners, or premium stain-grade). Then price materials with waste by profile, not one percentage for the whole job.
Next, pressure-test the rolled-up number against public per-foot totals to make sure you’re not an outlier without a reason. If your quote lands outside the $5–$9/LF neighborhood for straightforward base—including the common adders like removal and paint—verify you captured mobilizations, staging, mitigation (occupied homes), and punch. Being outside the range can be fine; not knowing why is where bids go sideways.
Finally, protect the schedule. The fastest way to burn hours is to treat setup like overhead instead of scope. Model (and bill) for layout and roll-up time, site protection, and tool changes in rooms with lots of profile switching. Keep a running daily journal of work type, hours, and installed units (LF or openings) so your next estimate improves. It’s the most boring habit that saves the most money: your piece prices become a mirror of how your crew actually builds, not a guess based on someone else’s rate sheet.
Examples You Can Reuse on the Next Bid
Casing a simple three-bedroom rental with MDF base and SR casing? You might carry 30 LF/hour for base in open rooms, 20 LF/hour in the bedrooms with furniture, 8% waste on base, and 1.1 openings/hour for casing if you’re shimming out of square. A check against RSMeans’ 200–250 LF/day suggests you’re in range; a quick sanity check against the $5–$9/LF installed total says your number makes sense in your market once you add paint and removal.
Upgrading a dining room with 2-piece crown, pine backer plus a large MDF profile? Set a lower productivity (fewer LF per hour) because you’ll be coping and dealing with spring angles, then bump waste to 12%–15% to cover practice cuts and visible scarf placement. If stain grade, push higher and be picky about stock selection so joints disappear without filler. Your bit kit matters here: a sharp cove or roundover to ease edges on built-up moldings, a flush-trim bit for backer alignment, and reliably running bearings so you’re not hand-sanding burn marks before paint.
A whole-house trim-out in an occupied remodel? Expect lower productivity than new construction, not because the work is harder but because setup, dust control, and protection add invisible hours. Build that into the rate, not as a wishful “we’ll make it up” note. Keep the per-room log current; the next occupied job will price faster and land closer to reality because you can point to actual LF/day you delivered last time.
Conclusion
Estimate finish work the same way you install it: clean layout, measured cuts, and no wishful thinking—productivity grounded in your logs, waste by profile, and bit choices that keep edges crisp so your rate holds up on site.