A Wining Cost Estimate
That Helps You To Win More Roofing Construction Projects

EPDM rubber roofing is the way to go for flat roofs. It’s durable, cost-effective and has great waterproofing properties. Let this article guide you through the installation process!

EPDM rubber roofing can take extreme weather conditions like hailstorms and heavy rain. Plus, it doesn’t need regular maintenance or coatings like other options, which saves you money.
To protect your investment, inspect the roof every 6 months. Check for damages or leaks and repair them ASAP to avoid future expenses.
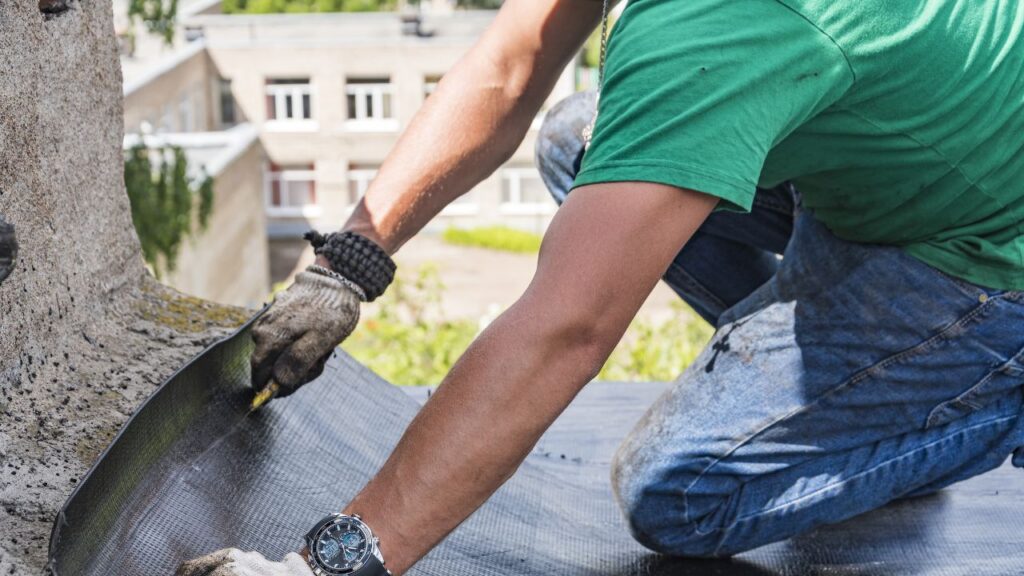
EPDM rubber roofing installation on flat roofs requires careful preparation. Here’s a guide to help:
Failure to prepare correctly can lead to costly repairs. When you’re ready, you can lay down the EPDM membrane. Neglecting these steps can cause leaks, blow-offs, and shrinkage due to high winds. Be precise and get ready for good weather – measure twice, cut once.

For accurate Measuring and Cutting of EPDM Rubber Material, here’s a four-step guide.
It is important to take your time with this process, as it will save you from costly repairs later. Also, make sure that there is no debris or dirt underneath the EPDM rubber before putting it on the prepared roof deck. Now that you have the basics of Measuring and Cutting down, it’s time to move on to Bonding Adhesive Application. Get ready to lay down your flat roof like a rockstar!
Inspect your work for any gaps or bubbles that need extra adhesive. Have all materials and equipment ready to save time.
Maintaining the EPDM rubber roof is like maintaining a relationship – a little effort goes a long way.
Maximize your roofing construction business’s potential with our competitive financing options

Ensure the longevity and reliability of your EPDM rubber roofing with proper attention to the final touches and ongoing maintenance.
Follow these steps to preserve the roof’s efficiency and protect it from potential damage. Make sure your flat roof isn’t plain – give it the EPDM rubber roofing treatment!
EPDM rubber roofing installations for flat roofs need precision and detail. From prepping the roof to laying down the membrane, this guide provides a step-by-step approach for success.
To get a quality installation, instructions must be followed and good materials used. By following these guidelines, leaks and damage to the property can be avoided.
Maintenance of the EPDM rubber roof is important. Inspections by professionals can save money by finding issues before they become major. The NRCA conducted a study that showed proper maintenance can extend the lifespan of a commercial roof up to 50% (source: Facility Executive). Investing in care and maintenance can have great benefits for your property.
You will need EPDM rubber roofing membrane, adhesive primer, roofing adhesive, seam tape, and insulation if necessary.
Yes, with the right materials and tools, EPDM rubber roofing can be a DIY project. However, it is recommended to hire a professional for larger roofs or if you are not experienced with roofing installations.
Yes, EPDM rubber roofing can be installed on any type of flat roof including traditional felt roofs and rough concrete surfaces.
With proper maintenance and care, EPDM rubber roofing can last up to 50 years.
Yes, EPDM rubber roofing is designed to be walked on. However, it is recommended to use caution and wear soft-soled shoes to avoid damaging the roof.
Regular cleaning and inspection can help prolong the life of your EPDM rubber roofing. Avoid harsh cleaning chemicals and keep the roof free of debris and standing water.
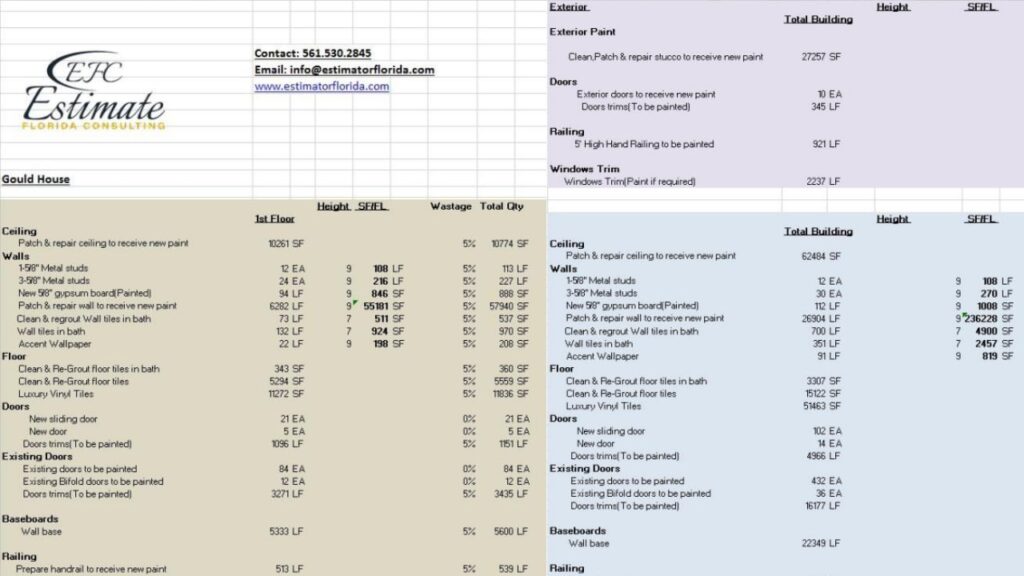
Here I am going to share some steps to get your roofing construction cost estimate report.
You can send us your plan on info@estimatorflorida.com
Before starting your project, we send you a quote for your service. That quote will have detailed information about your project. Here you will get information about the size, difficulty, complexity and bid date when determining pricing.
We do roofing construction cost estimating and prepare a detailed report for your project. At last, you finalize the report and finish the project.
561-530-2845
info@estimatorflorida.com
Address
5245 Wiles Rd Apt 3-102 St. Pete Beach, FL 33073 United States
561-530-2845
info@estimatorflorida.com
Address
5245 Wiles Rd Apt 3-102 St. Pete Beach, FL 33073 United States
All copyright © Reserved | Designed By V Marketing Media | Disclaimer
IMPORTANT: Make sure the email and cell phone number you enter are correct. We will email and text you a link to get started.
By clicking “I Agree” above you give Estimate Florida Consultin express written consent to deliver or cause to be delivered calls and messages to you by email, telephone, pre-recorded message, autodialer, and text. Message and data rates may apply. You are able to opt-out at any time. You can text STOP to cancel future text messages.