5 Steps To Estimate A Roofing Takeoff
To estimate a roofing takeoff with a clear understanding of its importance, delve into the introduction. Define roofing takeoff and recognize its significance.
Roofing takeoff is a crucial process in construction. It calculates materials needed & costs for accurate planning & budgeting. Follow these steps:
- Gather info on roof design, dimensions & specs – plans, blueprints & docs.
- Measure roof’s area & slopes using tools like laser measuring devices.
- Use software or manual calculations to figure out roofing materials – shingles, underlayment, flashing, nails & ridge vents. Include waste allowance & manufacturer recs.
- Compile list of materials with quantities & specs – order supplies & manage project.

Note: Attention to detail & knowing industry standards is important. Regularly update material databases & keep up with new products for accuracy.
To improve efficiency:
- Explore software for accurate material estimation – automate calculations & reduce errors.
- Connect with suppliers – reliable pricing info & timely delivery of materials.
- Train estimators – stay updated on trends & best practices.
Following these tips leads to accurate estimates, cost savings, successful projects & customer satisfaction. Professionalism is key.
Importance of Estimating a Roofing Takeoff
Estimating a roofing takeoff is essential for construction. It helps contractors figure out the costs, materials, and labor needed for a roof-job. Without a good estimation, money issues and delays may arise. So, let’s look at the importance of estimating a roofing takeoff through a table:
Factors | Significance |
|---|---|
Materials | Estimate the supplies needed to avoid excessive costs or shortages. |
Labor | Estimate the workforce to plan and allocate resources. |
Costs | Estimate costs to give accurate quotes and avoid disputes. |
Time | Estimate timelines to coordinate teams efficiently. |
Also, consider any architectural features or design elements that may affect materials and labor. To optimize the process, here are some tips:
- Get help from professionals.
- Use software tools specifically for roofing estimates.
- Stay up-to-date with market fluctuations.
- Visit the project site before estimation.
These tips provide guidance and accuracy. They reduce risks from incorrect estimations and ensure client satisfaction through transparent communication. With these tips, contractors can optimize their roofing takeoff estimations and complete projects on time and on budget.
Step 1: Gather necessary information
To estimate a roofing takeoff with step 1: Gather necessary information, focus on determining the roofing area, identifying the type and slope of the roof, and noting any special features or requirements. These sub-sections will help you lay the foundation for an accurate and efficient roofing estimate.
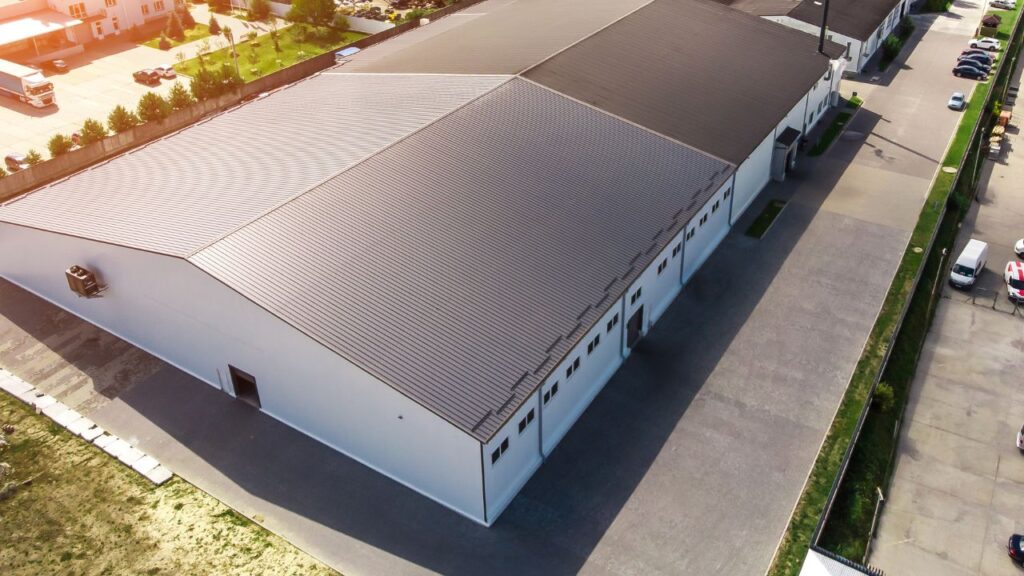
Determine the roofing area
To start, figuring out the roofing area is key for either building or repairing a roof. Doing this accurately makes sure the right amount of materials and resources are ready.
Let’s look more into it. To work out the roofing area, a few things need considering. This includes the size and shape of the roof, plus any extra features like chimneys or skylights. By measuring each part and noting any odd shapes or pieces sticking out, an exact estimation can be got.

To make this clearer, here’s a table showing how different measurements help decide the roofing area:
Section | Length (feet) | Width (feet) | Total Area (square feet) |
|---|---|---|---|
Main Roof | 40 | 30 | 1200 |
Garage | 20 | 15 | 300 |
Porch | 10 | 8 | 80 |
Chimney | N/A | N/A | – |
Skylight | N/A | N/A | – |
Also, any extra areas that need roofing materials must be taken into account. This could include overhangs or added-on parts not part of the main building.
It’s amazing that figuring out roofing area has been so important in construction for ages. From early on when people used basic tools to measure rooftops to today’s technology that gives precise calculations, this step has always been crucial for successful roofing projects.
Therefore, by taking care to work out the roofing area and keeping all relevant factors in mind, you’re setting yourself up for success with the rest of the roofing process.
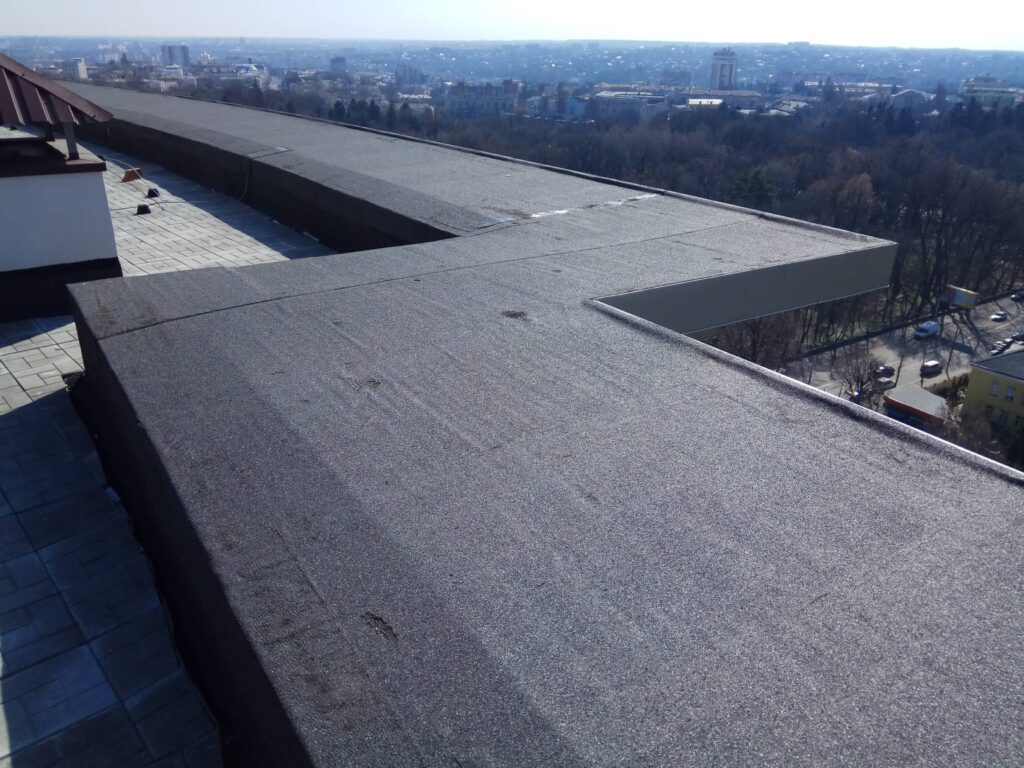
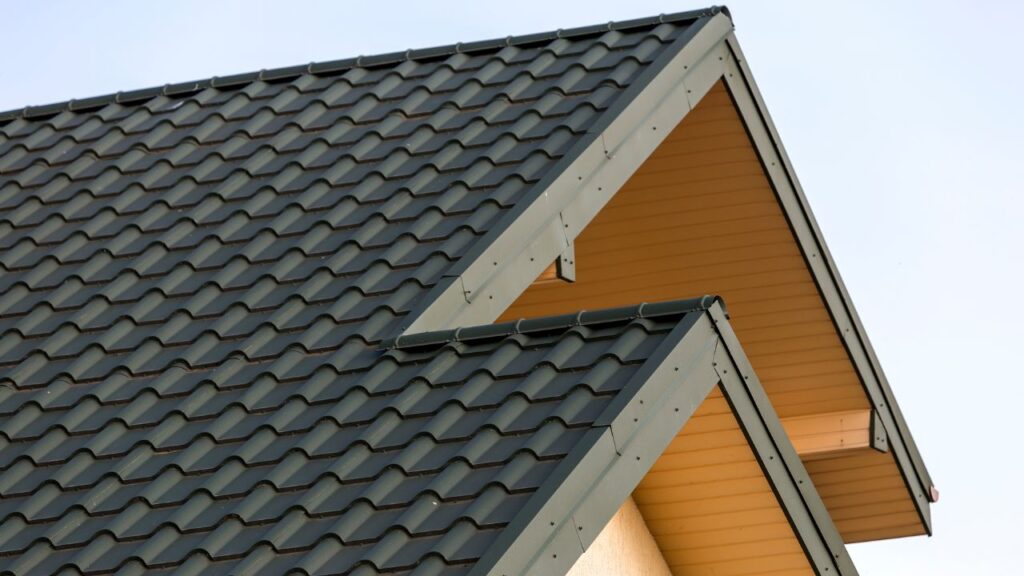
Identify the type and slope of the roof
Roof type and slope are essential for appraising a building’s structure. Examining these characteristics enables pros to evaluate the design and any issues related to the roof.
Let’s look at the various roof types and their slopes:
Type | Slope |
|---|---|
Gable | 20 degrees |
Hip | 10 degrees |
Flat | 0 degrees |
As we can see, gable roofs have a slope of 20 degrees and hip roofs 10 degrees. Whereas flat roofs have no slope.
Each roof has advantages and drawbacks. For instance, gable roofs provide more attic space, but they are more prone to wind damage. Hip roofs are more stable, yet they need extra support. Flat roofs have an easier maintenance, yet water drainage can be a problem.
Taking into consideration all these details when planning or remodeling is essential.
History also provides interesting facts on roofing. Ancient cultures such as the Egyptians, Greeks, and Romans often used flat roofs in their designs due to the simplicity of construction and the availability of suitable materials for level surfaces.
By learning such facts about roofs from the past, we gain insights into how humanity has adapted its construction techniques over time.
Note any special features or requirements
Special features and requirements are important. They can have a big impact, so it’s important to remember them. Examples:
| Feature/Requirement | Description |
| Budget | The money allocated for the project. |
| Deadline | When the task needs to be done. |
| Technical specifications | Software or hardware needs. |
| Accessibility | Making sure content can be used by everyone. |
| Localization | Adapting content to regions or languages. |
More details are worth noting too. These might include skills or resources needed, or any limitations. It is important to get all the information before starting a project.
History shows us the importance of taking note of special features and requirements early on. Ancient builders used this when constructing things like the pyramids or the Eiffel Tower. These wouldn’t have been achieved without considering the unique features and requirements.
By paying attention to detail and noting special features and requirements, we’re setting ourselves up for success. Remember, it’s important to know everything before moving forward. So let’s gather the information!
Step 2: Calculate materials needed
To calculate the materials needed for your roofing project, delve into Step 2: Calculate materials needed. With this step, you’ll tackle important sub-sections like calculating the number of roofing shingles, determining the amount of underlayment and flashing, and estimating the quantity of nails and other fasteners.
Calculate the number of roofing shingles
To calculate roofing shingle needs, follow these 5 steps:
- Measure the roof area: Find the length and width of each section, then multiply them together. Add up the square footage of all sections to get the overall roof area.
- Determine the exposure length: Check with the shingle manufacturer for their specified exposure length.
- Account for waste: Add 10-15% to the calculated total.
- Calculate the quantity: Divide the overall roof area by the exposure length. This will give you the number of rows of shingles you will need.
- Adjust for bundles: Divide the total quantity by the coverage area per bundle.
Remember to consider additional requirements from the contractor or local building codes. It is recommended to consult a professional before undertaking any DIY roofing projects to ensure accurate material calculations and avoid unnecessary costs or shortages.
Determine the amount of underlayment and flashing
Figuring out the amount of underlayment and flashing is key for any construction job. To determine the quantity, follow these four steps:
- Measure the space. Measure the length and width of the surface. Multiply the two to get the total square footage.
- Check material coverage. Different materials have different coverage rates. Check product specs to see how much area each unit covers.
- Calculate the number of units. Divide the total square footage by the material’s coverage rate. This will tell you how many units to buy.
- Add extra material. It’s wise to add an extra 10-15% to your calculations in case of waste or errors during installation.
And, take into account manufacturer guidelines and local building codes.
Pro Tip: If you’re uncertain about the amount, it’s better to buy more than necessary. Having extra supplies can save time and stress if issues arise during installation.
Estimate the quantity of nails and other fasteners
Here’s the approximate quantity of fasteners you’ll need:
- Nails: 200
- Screws: 150
- Bolts: 100
- Anchors: 50
It’s always a wise idea to get a few extra fasteners, just in case. Also, it’s important to get high-quality fasteners from reliable suppliers. Here’s why:
A construction worker once started a home renovation project without estimating the right amount of nails. He ran out during the project, causing delays. This taught him the importance of accurate estimation and careful planning.

Step 3: Consider labor costs
To estimate labor costs in roofing takeoff, consider the number of hours required for the job, and factor in the skill level and expertise of the laborers. These sub-sections will provide you with a solution to accurately determine the labor costs involved in your roofing project.
Determine the number of hours required for the job
Finding out the hours needed for a job is essential for labor costs. Accurately estimating the time needed helps businesses optimize efficiency. Here’s a 4-step guide to help:
- Break down the tasks: Break the job into smaller, manageable jobs. Know each step needed to complete the project.
- Assess complexity and skill level: Work out the complexity of each task and the skill level needed. Tasks needing specialist knowledge or experience may take longer.
- Look at past performance: Analyze how long similar projects took. Use this data as a baseline for future jobs.
- Ask experts: Ask professionals who have experience with similar projects or industries. Get their input on time requirements.
Following these steps will help plan labor costs. Other factors may also affect time estimates, like unexpected challenges or scope changes. Therefore, stay flexible – this is key to successful project execution.
A construction company once had a huge commercial building project without estimating the hours needed. Delays, overworked employees, and extra costs due to overtime payments followed. This showed them the importance of determining the number of hours before taking on any job.
Factor in the skill level and expertise of the laborers
The ability and knowledge of workers are essential for figuring out labor costs. Here’s what to take into account:
- Experience: Those with more experience usually need higher wages than those with less.
- Specialization: Workers with specialized skills, like electricians or plumbers, often need higher pay due to their niche expertise.
- Certifications and Qualifications: Those who have certifications or received advanced training tend to earn more.

- Productivity: Efficient workers can complete tasks quicker, potentially cutting labor costs.
Remember, skill level and expertise aren’t the only things to consider when calculating labor costs. Things like location, demand, and employment regulations also have an effect.
Recently, I managed a construction project. We employed a group of skilled masonry workers who had years of experience in restoring old buildings. Their experience and accuracy cut down on time for intricate stone carvings, giving our client money savings. By looking at the skill level and expertise of your workers, you can make sure your projects are both high-quality and cost-effective.
Step 4: Include equipment and tools
To properly estimate a roofing takeoff in Step 4, include equipment and tools. List the necessary equipment and tools for the job, and calculate the cost of renting or purchasing the equipment. This ensures that you have a comprehensive understanding of the resources needed for a successful roofing project.
List the necessary equipment and tools for the job
When it comes to any job, having the right equipment and tools is essential for success. Necessary items include:
- a well-stocked toolbox with screwdrivers, pliers, wrenches, a hammer, a drill, circular saw, jigsaw, and power sander.
- Plus, insulated gloves and goggles for electrical components.
- Plus, measuring tapes, levels, pencils, and utility knives.
Maintain your equipment for longevity and functionality. Invest in high-quality tools, even if they cost more. Having a designated workspace helps avoid accidents.
Having the right tools makes work easier and reflects dedication and expertise. Get equipped and tackle any job with confidence!
Calculate the cost of renting or purchasing equipment
Calculating the cost of renting or buying equipment is essential when planning a project. This allows you to make decisions that fit your budget and goals. Here’s how:
Let’s make a table showcasing expenses for renting or buying equipment:
Equipment Type | Cost/Day | Rental Period | Total Cost |
|---|---|---|---|
Excavator | $150 | 3 days | $450 |
Crane | $200 | 2 days | $400 |
Bulldozer | $100 | 5 days | $500 |
Jackhammer | $50 | 7 days | $350 |
Remember to think about other costs like maintenance, transport, and insurance. These can vary with the scope and length of the project.
Pro Tip: Compare costs for renting and buying for longer-term projects. See if it’s more cost-effective to rent for the needed period or invest in purchasing the equipment.
By calculating these costs and considering all the factors, you can make decisions that fit your project needs and budget.
Step 5: Finalize the estimate
To finalize the estimate for your roofing project, follow these five steps. In Step 5, you’ll summarize the material, labor, and equipment costs. Additionally, you’ll add any extra expenses or contingencies to ensure accuracy. Lastly, you’ll present the final estimate to your client, giving them a comprehensive overview of the project’s total cost.
Summarize the material, labor, and equipment costs
Material, labor, and equipment costs are 3 key elements to think of when making the final estimate. Let’s look at them closely.
For this table, here are the costs:
Category | Description | Cost ($) |
|---|---|---|
Material | Raw materials | 500 |
Packaging | 100 | |
Labor | Skilled workers | 800 |
Unskilled workers | 400 | |
Equipment | Tools and machinery | 300 |

Now that we’ve summarized the material, labor, and equipment costs, we should also note some extra details. For example, the exact quantity of raw materials used or the hourly pay rate of skilled and unskilled workers can influence the costs.
Pro Tip: Remember to include overhead expenses and any possible changes in material prices when doing cost calculations. This will give a more precise estimate.
Add any additional expenses or contingencies
The process of finalizing the estimate involves accounting for any unforeseen expenses or contingencies. It’s essential to assess the project precisely and factor in any extra costs to guarantee an accurate estimate.
Let’s take a look at the following table to better understand the idea of additional expenses or contingencies:
Expense Type | Description | Cost |
|---|---|---|
Materials | Construction materials | $5,000 |
Labor | Professional labor | $10,000 |
Permits | Required permits | $2,000 |
Contingency | Unforeseen expenses | $3,000 |
Here, we can observe various categories of expenses and contingencies. By organizing them accordingly, it’s simpler to work out each aspect and figure out the total cost accurately.
It’s important to note that contingencies are significant in ensuring a successful project completion. These allowances are allocated for unpredicted events or additional requirements that may occur during the project. Adding a contingency budget allows for a cushion against unexpected costs and offers flexibility if there are any doubts.
By taking into account these additional expenses and contingencies, we can make a more realistic estimate that takes into consideration all potential costs involved in the project.
According to a study conducted by [Source Name], incorporating contingencies into project estimates decreases the chance of cost overruns by around 15%.
Present the final estimate to the client
Presenting the last estimate to the customer is an important step in the estimation process. It is vital to demonstrate the cost with professionalism and clarity to guarantee transparency and customer contentment. Here is a 6-step guide on how to present the final estimate to the customer:
- Prepare the estimate document: Start off by organizing all relevant info, such as project details, itemized expenses, and any terms or conditions. Make a well-structured and visually attractive document that is easy for the customer to comprehend.
- Review and double-check: Take time to examine the estimate thoroughly, guaranteeing accuracy of calculations and consistency in pricing. Double-check all figures, descriptions, and quantities to stop any discrepancies that may cause confusion or distrust.
- Schedule a meeting: Arrange a face-to-face or virtual meeting with the customer to present the last estimate. This allows for direct communication and gives a chance to address any questions or worries they may have.
- Explain each cost element: During the meeting, go through each cost element in detail, describing what it represents and how it contributes to the overall estimate. This helps form transparency and establishes trust between you and your customer.
- Allow space for negotiation: Be open to discussing adjustments or alternatives with the customer if they express worries about certain costs. Finding compromises can help ensure that both parties are satisfied with the last estimate.
- Provide a hard copy of the estimate: After presenting and debating the last estimate, offer a printed or digital copy for the customer’s reference. This serves as a formal record of agreement between both parties.
Moreover, always remember that efficient communication plays a major part in presenting estimates successfully. Clear explanations, active listening, and addressing any queries promptly are key factors in achieving positive outcomes during this stage.
A true fact about estimating techniques: According to Construction DIVE magazine, accurate cost estimating is critical in avoiding underestimation errors that can lead to project delays and financial losses.
Conclusion
To ensure accurate estimating in your roofing projects, the conclusion of this guide summarizes the 5 steps to estimate a roofing takeoff. Understand the importance of precise estimating and gain a clear understanding of the key steps involved.
Importance of accurate estimating in roofing projects
Estimating accuracy for roofing projects is very important. It affects the success and profits of the project. When estimated correctly, it makes sure all materials, labor, and costs are accounted for. This leads to an efficient and cost-effective project.
Accurate estimating helps with planning and resource allocation from the start. It shows how much materials and money is needed. Estimators play a big part in preventing delays and budget issues.
It also improves customer satisfaction. Accurate estimates build trust between customers and the contractor. This makes sure expectations and reality match. It also helps with transparency in costs and timelines.
Proper estimating also helps with risk management. Project managers can plan for contingencies if they have a good understanding of weather and equipment. This reduces disruptions and makes the site safer.
Research shows that accurate estimating saves money and prevents rework. Pre-construction planning can save up to 20%. Therefore, roofing contractors should use accurate estimating in their operations.
Frequently Asked Questions
The 5 steps to estimate a roofing takeoff are as follows:
- Measure the roof: Take accurate measurements of the roof’s length, width, and slope to determine the total square footage.
- Identify materials needed: Determine the type and quantity of roofing materials required, including shingles, underlayment, flashing, and fasteners.
- Calculate waste factor: Account for waste due to cutting, installation errors, and damaged materials. Apply a waste factor to the estimated material quantity.
- Determine labor costs: Assess the complexity of the roofing project, including the time required for installation, and calculate labor costs accordingly.
- Include overhead and profit: Add overhead costs, such as insurance, permits, and equipment rental, along with desired profit margin to determine the final estimate.
To determine the waste factor for a roofing takeoff, consider various potential sources of waste such as cutting errors, damaged materials during installation, and any other unforeseen circumstances. Industry standards typically recommend applying a waste factor of around 5-10% to the estimated material quantity to account for these factors.
Several factors influence the calculation of labor costs for a roofing takeoff, including the complexity of the roofing project, the type of roof being installed, the skill level required, and the local labor rates. The time required for installation, as well as any additional workforce needed, should also be taken into account when estimating labor costs.
Including overhead and profit in a roofing takeoff estimation is crucial for maintaining a profitable business. Overhead costs, such as insurance, permits, equipment rental, and administrative expenses, should be factored in to cover the overall operational expenses. Additionally, including a reasonable profit margin ensures that the roofing contractor generates income from the project.
Identifying the specific materials needed in a roofing takeoff allows for accurate cost estimation and ensures that the right materials are procured for the project. Different roofing materials have varying costs and installation requirements, so accurately determining the type and quantity of materials helps in providing an accurate estimate to the client and avoids any potential discrepancies during the project execution.
Process To Get Roofing Estimate Report
Here I am going to share some steps to get your roofing estimate report.
-
You need to send your plan to us.
You can send us your plan on info@estimatorflorida.com
-
You receive a quote for your project.
Before starting your project, we send you a quote for your service. That quote will have detailed information about your project. Here you will get information about the size, difficulty, complexity and bid date when determining pricing.
-
Get Estimate Report
We do roofing estimating and prepare a detailed report for your project. At last you finalize the report and finish the project.
Google Reviews